Due to the popularity of WordPress, it has become a common target of cyber attacks. In fact, 70% of the 40,000 WordPress websites in Alexa Top One Million are vulnerable to hacking attempts, So We give a complete guide to WordPress Malware Removal. Some of the most common signs of a hacked site include defaced web pages, links to malicious websites, Google blocklist warnings, and white screens of death. If one of these indications appears on your WordPress site, it has likely been compromised or infected with malware.
How To Remove WordPress Malware Manually
1. Prepare for WordPress Malware Removal
2. Reinstall WordPress Core Files
3. Compare Infected vs Clean WordPress Installation
4. Clear Out PHP Files from Uploads
5. Look For Backdoors Within Your Files
6. Inspect the SQL Database File
7. Review the Code for Each Page and Post
8. Remove Your Website from URL Blocklists
Best WordPress Malware Removal Plugin
1. Word Fence Security
2. All In One WP Security & Firewall
While recovering a hacked WordPress site is possible, the process requires decent technical knowledge in website maintenance and hosting. If the following tutorial seems too challenging for you, we recommend using a WordPress malware removal plugin or hiring a WordPress malware removal specialist.
Step 1. Prepare for WordPress Malware Removal
First things first, keep in mind that you can fix your hacked WordPress site. While it might take some time and effort to recover it, know that you can get over such an incident. Therefore, it’s important to stay calm and follow the appropriate recovery procedure. Before removing malware from your WordPress site, take these preparation steps to ensure the safety of your data
1. Restrict Access to the Website
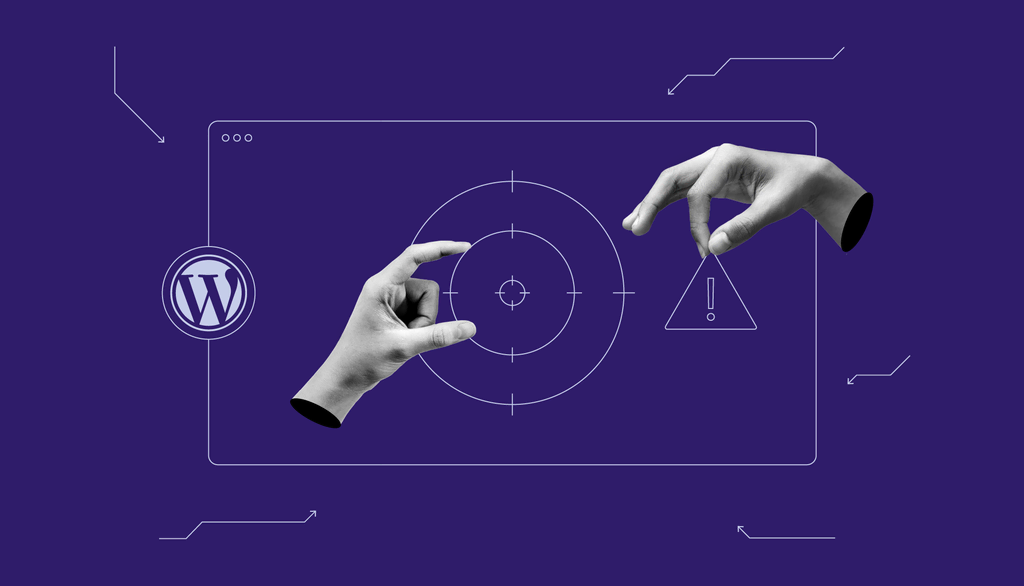
If your WordPress site has malicious redirects to shady, unsecured websites, chances are it’s been hacked. If left unchecked, your infected WordPress site can prompt visitors into accessing dangerous sites and leaking their personal details. Restricting access to your WordPress site will help prevent the further spread of the hidden malware currently infecting it. Perform this step by editing the .htaccess file through your hosting control panel’s File Manager or an FTP client such as FileZilla. In this tutorial, we’ll be using Hostinger’s File Manager on hPanel. So here’s how to do it if you’re using Hostinger’s WordPress or any other type of hosting:
- Navigate to File Manager under the Files section.
- Access the public_html directory and scroll down to locate the .htaccess file. If the file isn’t present, create a new default .htaccess file.
- Add this code snippet to the .htaccess file to block all access except yours:
order allow,deny
deny from all
allow from [your_IP_address]
- Save the changes.
2. Create a Backup
Creating a backup of the hacked site will make it easier to identify malware. By comparing the WordPress files of the good backup with those of the post-hack version, you’ll be able to locate malicious code much faster. Follow these steps to back up your WordPress site files and database using Hostinger hPanel’s one-click backup and restore system:
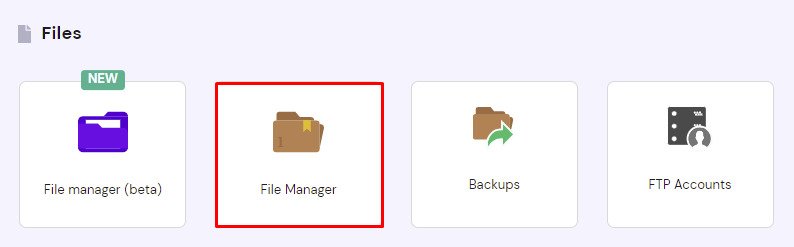
- Navigate to Backups under the Files section.
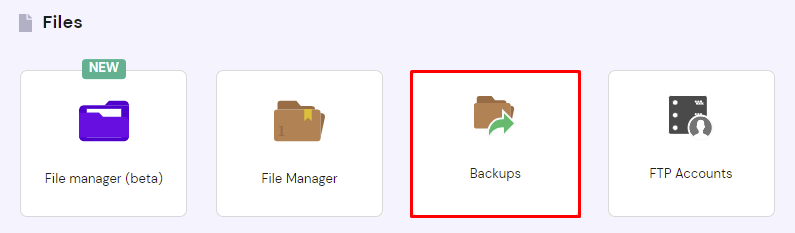
- Click on the Select button within the File Backups section. Select a date from the drop-down menu and click Next Step.
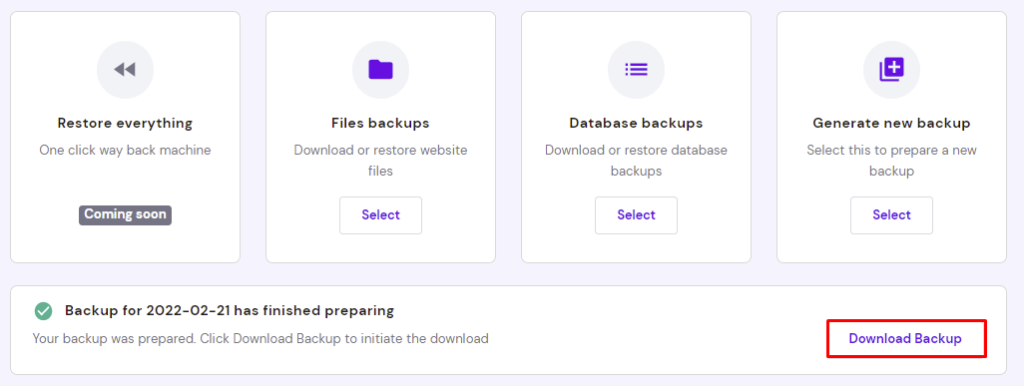
- Check the box next to the domain you want to back up, then select Download all files
- Once the server finishes preparing the download, click Download Backup.

- After backing up your website files, do the same for your WordPress database. Click on the Select button under the Database Backups section and pick the desired database from the drop-down menu. If you don’t know your WordPress database name, locate it first.
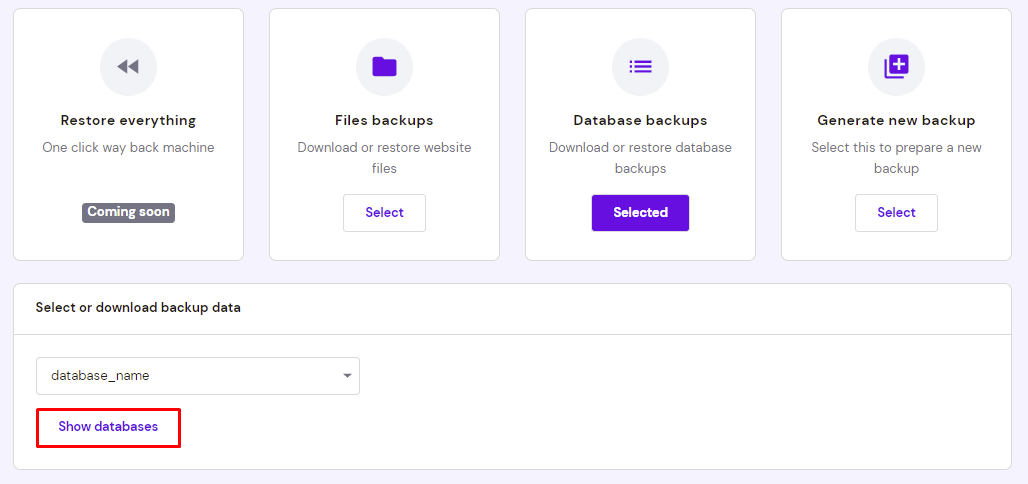
- Select Show databases to display the backup logs. Pick a date and click Download.
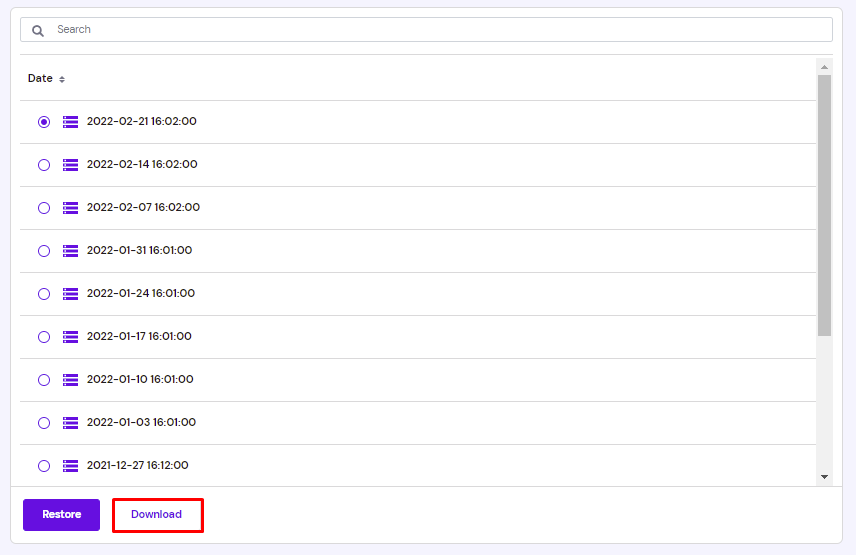
- Once the server finishes preparing the download, click Download Backup.
3. Check Available Backups
This step should be easy for those who have done their due diligence as website administrators. If you couldn’t restore the WordPress site using the infected backup file, the older version can serve as your Plan B, allowing you to recover pre-hack data and start over much faster. Otherwise, we recommend contacting your web host to see if they have a backup of your website files. Depending on your hosting provider, you might have pre-hack backup files automatically generated. Hostinger, for example, offers daily and weekly backups with its shared hosting plans.
4. Update All Passwords and Access Keys
Many hackers use malware to commit brute force attacks to crack administrator accounts’ login credentials. Changing your passwords can slow them down and minimize the chances of another security risk wreaking havoc on your WordPress site.Make sure to use strong passwords and avoid reusing them on more than one account at a time. There are plenty of online password generators like Secure Password Generator and Random Password Generator that can help you create unpredictable passwords with various combinations of letters and numbers.The following are some of the accounts that need a password reset at the soonest opportunity:
- Hosting account ‒ most hosting providers, including Hostinger, put the password change feature on the account information page.
- FTP accounts ‒ having your FTP accounts compromised will allow hackers to launch FTP bounce attacks. Minimize this risk by changing the password of both your primary and secondary accounts.
- SSH accounts ‒ change your account passwords and setup SSH keys to prevent hackers from accessing your website data.
- WP-Admin credentials ‒ change your admin password and the login credentials of other WordPress user accounts that have access to your site’s backend.
- WP Salts ‒ changing your WordPress Salt keys will help keep your login details hashed, strengthening your WordPress account against brute force attacks.
Important! If you have personal accounts with the same password as your hacked WordPress site, change them as well.
5. Update WordPress
39.3% of hacked WordPress sites are running an outdated WordPress version. By keeping your CMS up to date, you’ll eliminate vulnerabilities that hackers can exploit to attack your website.
Here’s a checklist of the software and files you need to update:
- WordPress version ‒ update your WordPress to the latest version via the Updates tab of your WordPress admin dashboard. Hostinger users can update their website version through the hPanel dashboard.
- Themes and plugins ‒ the update prompt of outdated WordPress plugins and themes should appear in the Updates section. Don’t forget to eliminate potential security issues by deleting unused themes and plugins.
- PHP version ‒ Hostinger users can update their PHP version via the PHP Configuration menu under the Advanced section of the hPanel dashboard.
6. Check for Recent Changes and Access
Your WordPress site logs keep track of all the traffic and changes made on the server. Checking the logs for suspicious activity around the time of the hack makes identifying rogue accounts and infected files easier.
First, analyze your changelogs by running the find command on SSH:
find . -type f -name ‘*.file_extension’ -ctime n
Replace the file_extension value with the file type you want to check. We recommend searching for JavaScript and PHP files as both file extensions are common targets of malware injection. Add a positive or negative value to the n placeholder to determine the search scope.
For example, the following SSH command displays any PHP files added or modified three days ago:
find . -type f -name ‘*.php’ -ctime -3
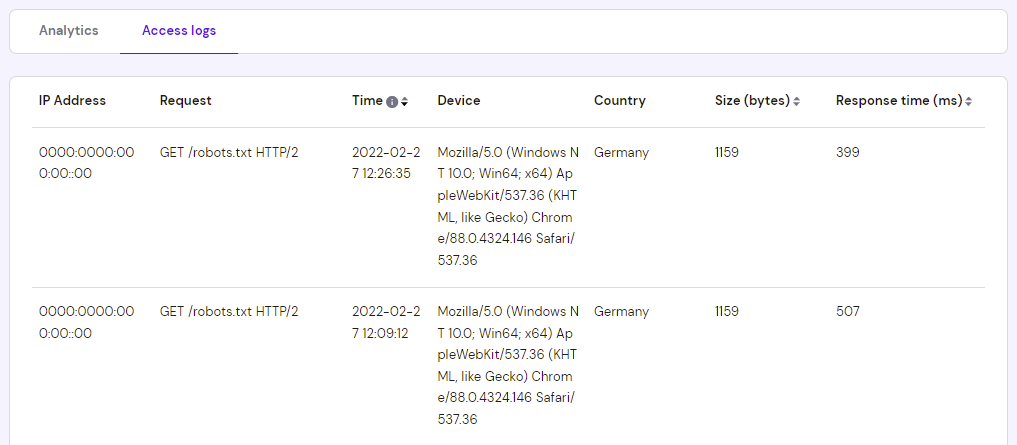
As for the access logs, Hostinger users can check them via Access Logs under the Website section of the hPanel dashboard. Open the Access logs tab to see a list of your website visits. You can filter the results based on the chosen time frame.
7. Remove Symlinks
Symbolic links or symlinks are file types that point to another file or directory, serving as shortcuts. While they provide multiple access points, hackers can exploit them to launch symlink attacks and gain access to your root directory.
Run this command via SSH to unlock symlinks from your files and directories:
find . -type l -exec unlink {} \;
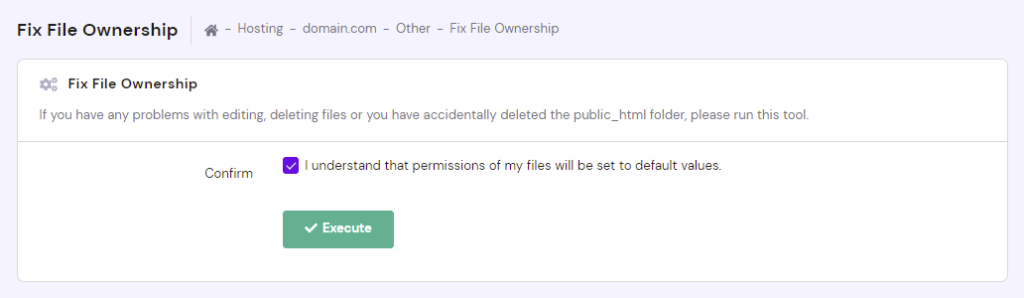
8. Reset File and Folder Permissions
Limiting the number of users with an administrator role is a great security measure to prevent hackers from accessing confidential site files. In the event of a security breach, we recommend resetting file and folder permissions to their default values to flush out WordPress users with invalid access privileges.
The file permissions settings should be accessible via your hosting account dashboard. Hostinger users can access them via the Fix File Ownership menu under the Other section. After checking the confirmation box, click Execute to set all file permissions to the default values ‒ 644 for files and 755 for folders.
The recommended 755 folder permissions mean that the owner of the files within these folders can read, write, and execute them, whereas other WordPress users only have read and execute access rights.
9. Scan Your PC with Antivirus Software
The cyber attack might target your WordPress site initially, but there’s no telling if the malware infection hasn’t spread to your PC. Scanning your PC with antivirus software will help remove a potential malware infection and prevent it from compromising your hardware.
Here are some of the best antivirus solutions that come with a malware scan feature:
- McAfee
- ESET
- Norton Antivirus
- Bitdefender